10 IKEA Hacks That Look Expensive (All Under $50)

This post contains affiliate links. If you click a link and make a purchase, I may earn a small commission at no extra cost to you. I only recommend products I genuinely believe in. Thank you for supporting The Tender Home!
Let’s be honest about something: most of us are furnishing our homes on a budget that doesn’t match the aesthetic we actually want. You know what a well-designed room looks like. You just don’t have four figures to spend on a single bookcase.
This is where IKEA hacks come in — and before you picture something complicated involving power tools and a YouTube tutorial you’ll abandon halfway through, stay with me. The hacks in this list range from genuinely five minutes of effort to a Saturday afternoon project, and every single one costs under $50 in additional materials.
The secret to a good IKEA hack isn’t skill. It’s knowing which pieces have good bones. IKEA’s furniture is simple and modular by design — which means it responds incredibly well to small upgrades that transform it from “clearly IKEA” to “where did you get that?”
You don’t need power tools, a workshop, or a Pinterest-perfect craft room. You need a can of paint, a screwdriver, and the willingness to try. That’s it.
What’s in this guide
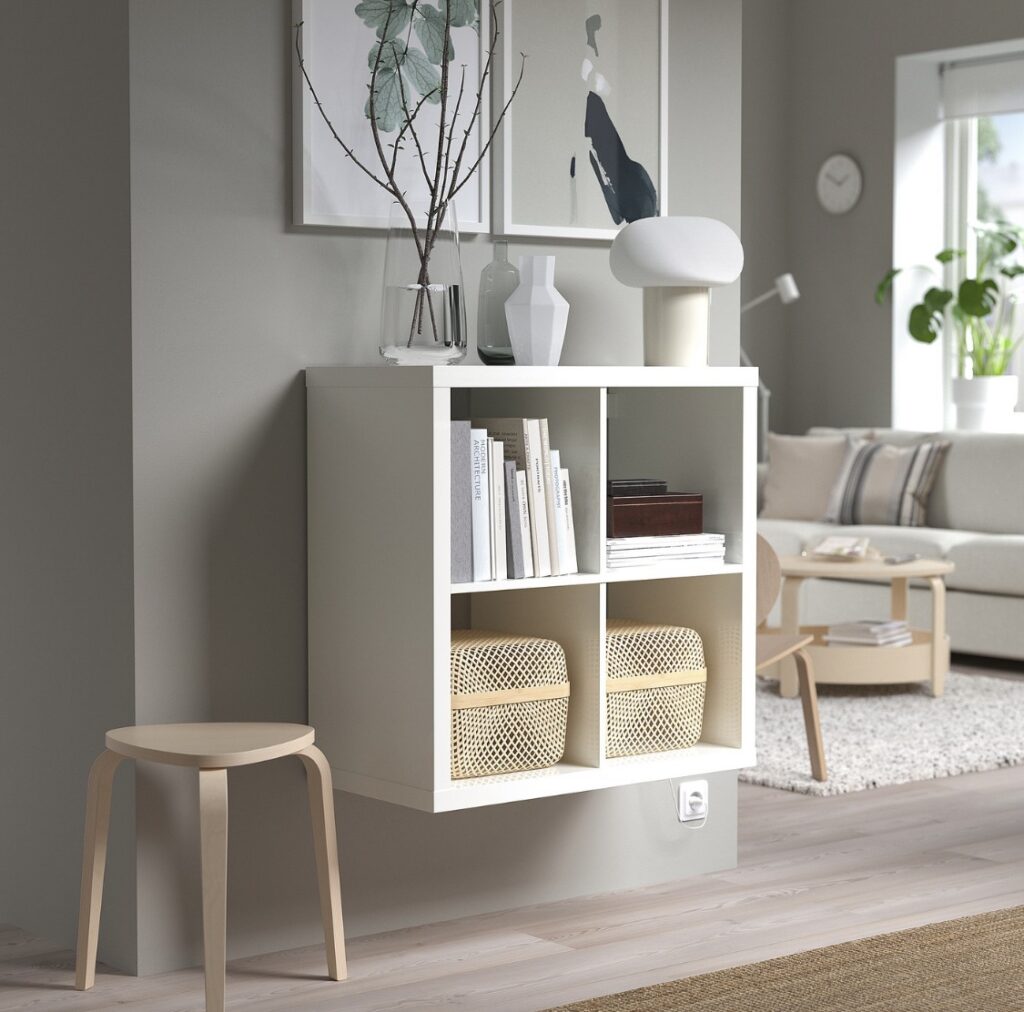
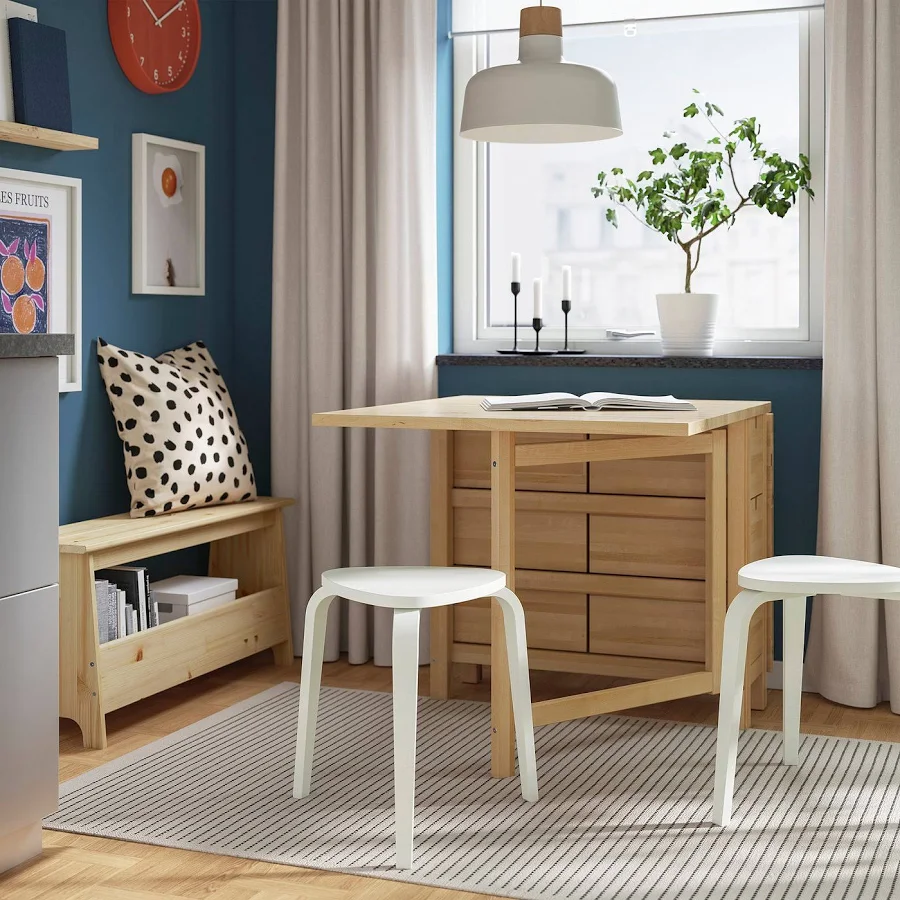
Hack 1: The KALLAX leg upgrade (the one that started it all)
IKEA piece: KALLAX shelf unit ($54.99) | Extra cost: ~$15 | Time: 20 minutes
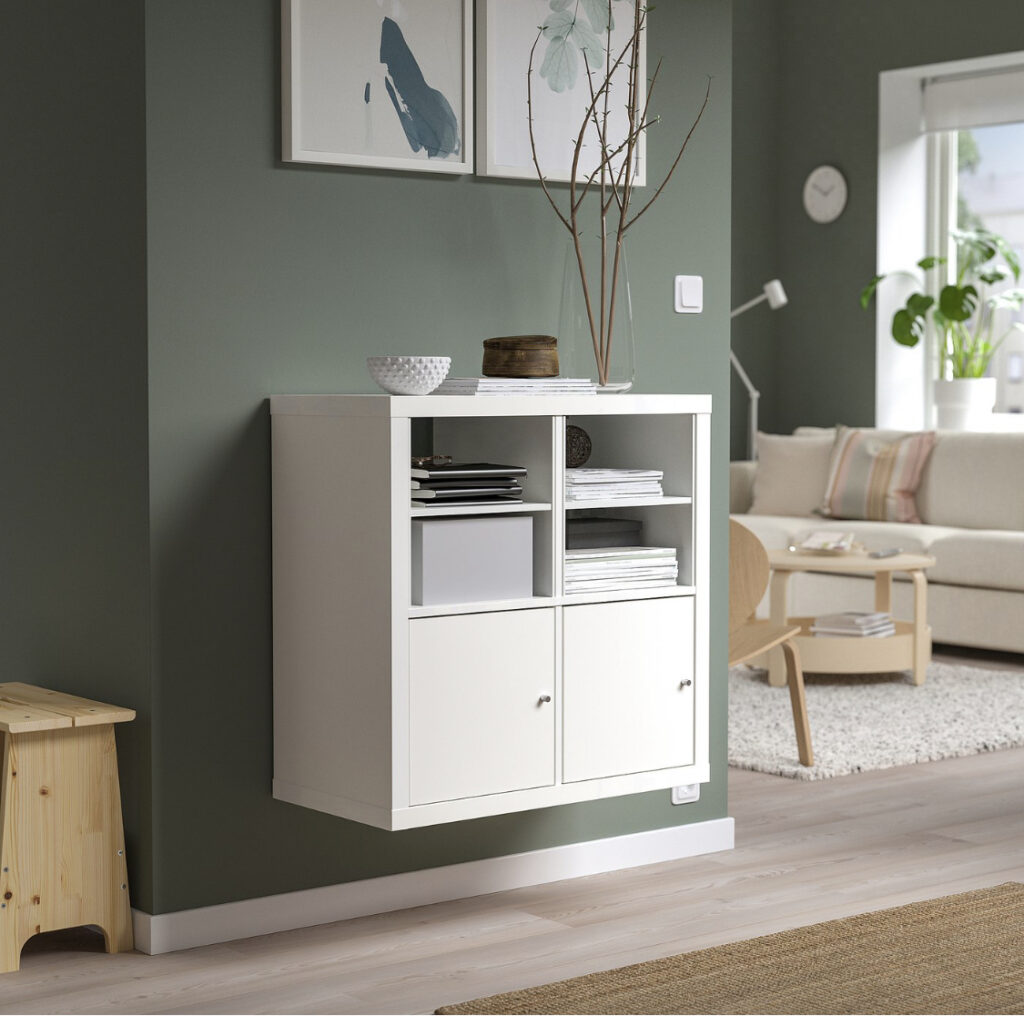
The KALLAX is one of IKEA’s best-selling pieces and one of its most versatile. It’s also, in its default form, a little utilitarian — it sits flat on the floor and looks exactly like what it is.
Adding legs changes everything. Hairpin legs give it a mid-century modern look. Tapered wooden legs make it feel Scandinavian and warm. Chunky block legs push it toward industrial. The same $55 shelf becomes four completely different pieces of furniture depending on the leg style you choose.
- Flip the KALLAX upside down on a soft surface (a blanket works).
- Mark your leg placement — hairpin legs go close to the corners, about 2 inches from each edge.
- Use the included screws to attach the leg mounting plates.
- Screw on the legs, flip it upright, and style it.
Shop: Hairpin legs (set of 4, 6 inch) | Tapered wood legs
Hack 2: The BILLY bookcase built-in illusion
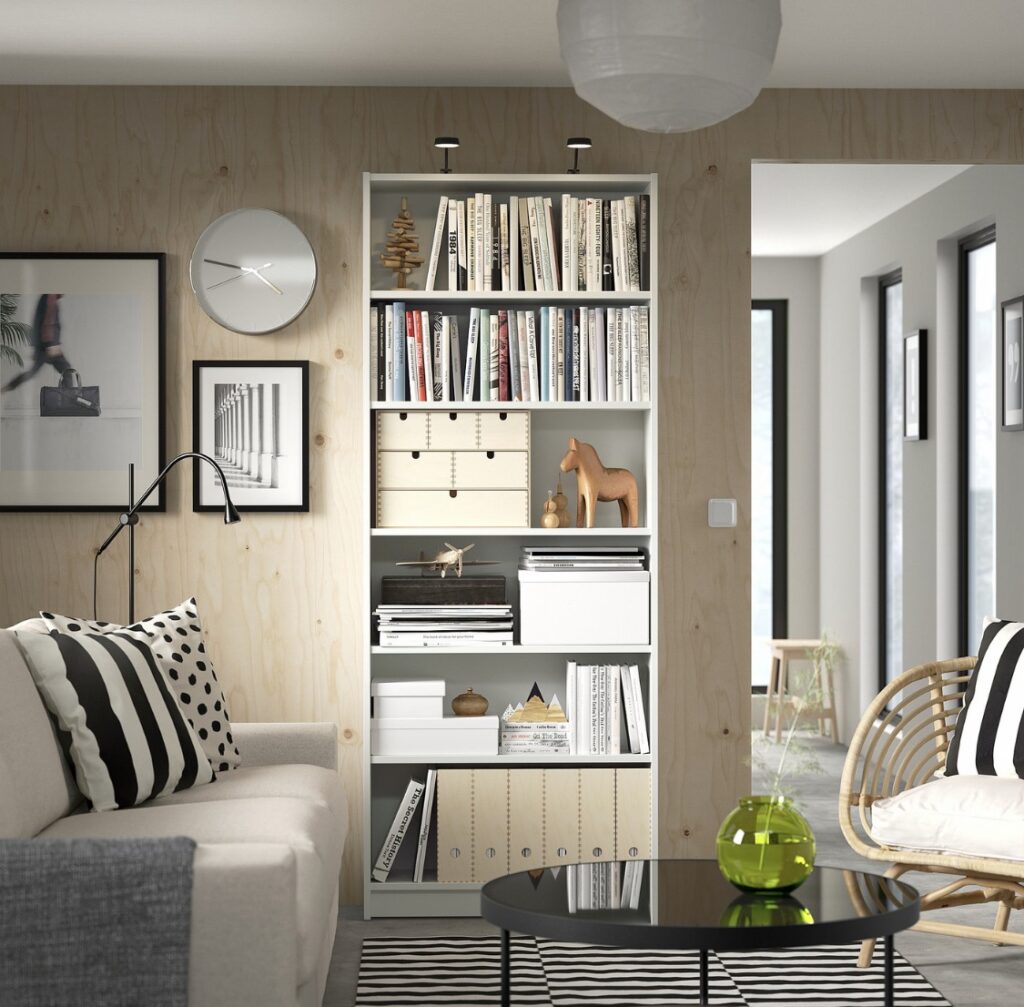
IKEA piece: BILLY bookcase ($79) | Extra cost: ~$30 | Time: 1–2 hours
Designers charge thousands to build floor-to-ceiling bookcases. You can get close to the same look with two BILLY bookcases and an afternoon.
The trick is extending the BILLY to the ceiling with a BILLY height extension unit ($35), then filling the gap between the top of the extension and your ceiling with crown molding — available at any hardware store, cut to size — and painting the whole thing the same color as your wall.
When the bookcase is the same color as the wall behind it, it reads as built-in rather than freestanding.
- Assemble BILLY with the height extension unit.
- Position against the wall and use a level to confirm it’s straight.
- Measure and cut crown molding to fill the ceiling gap.
- Attach molding with liquid nails.
- Fill any gaps with paintable caulk. Sand smooth when dry.
- Paint the entire unit — bookcase and molding — the same color as your wall.
The result is a custom built-in bookcase that costs under $150 total and looks like it cost $2,000 to install.
Hack 3: LACK side table marble makeover
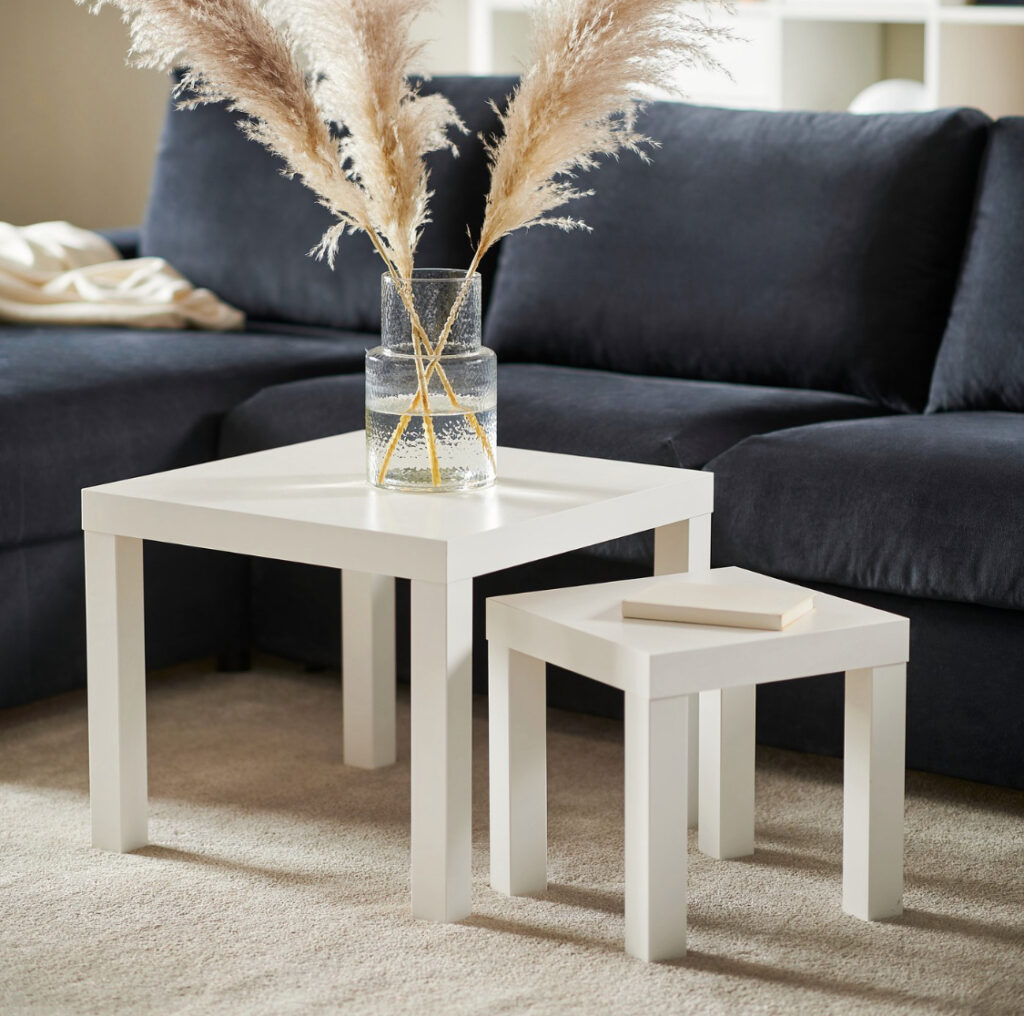
IKEA piece: LACK side table ($9.99) | Extra cost: ~$8 | Time: 15 minutes
The LACK side table is almost embarrassingly cheap — and it looks it. White and flat, it reads as dorm room furniture in its default state.
Marble contact paper changes it entirely. Cut to fit the top surface, smoothed down without bubbles, it creates a convincing stone effect that photographs beautifully and costs less than a coffee.
- Clean the table surface with rubbing alcohol and let it dry.
- Cut contact paper 1 inch larger than the table surface on all sides.
- Peel a few inches of backing and align to one edge.
- Slowly smooth down the paper, working out air bubbles with a credit card as you go.
- Trim excess with a craft knife along the table edge.
For extra impact, spray paint the legs gold or matte black before applying the contact paper. The combination of metallic legs and marble top is genuinely stunning.
Hack 4: KALLAX cane webbing doors
IKEA piece: KALLAX with KALLAX inserts ($54.99 + $15/insert) | Extra cost: ~$40 | Time: 2 hours
Cane webbing is having a major moment in interior design — it’s warm, textural, and has an artisan quality that instantly elevates a space. And you can bring it to a basic KALLAX for under $40.
This hack involves removing the flat panels from KALLAX door inserts and replacing them with cane webbing sheets stretched across the frame. The result looks like bespoke rattan furniture.
- Purchase KALLAX door inserts and remove the center panel (usually held with clips or staples).
- Cut a sheet of cane webbing to fit the insert frame opening, plus 2 inches on each side.
- Dampen the cane webbing slightly — this helps it stretch taut as it dries.
- Stretch over the frame and secure with a staple gun along the back edge.
- Trim excess and reattach the insert to the KALLAX.
Style the remaining open KALLAX cubes with baskets and plants. The combination of cane doors and open styling looks like a piece from a boutique home store.
Hack 5: The hardware swap (the highest return on investment of any hack)
IKEA piece: Any IKEA cabinet or dresser | Extra cost: $20–$35 | Time: 30 minutes
This is the one I recommend to everyone first, because it has the highest visual impact for the least effort. IKEA’s stock handles are fine. Good aftermarket hardware is genuinely beautiful — and it fits IKEA’s standard hole spacing exactly.
Replacing the hardware on an ALEX drawer unit, a HEMNES dresser, or a PAX wardrobe with brass bar pulls or ceramic knobs takes 30 minutes with a screwdriver and transforms the piece entirely. The furniture underneath doesn’t change. The perceived quality of it goes up dramatically.
Shop: Brass bar pulls (10-pack) | Ceramic knobs | Black matte T-bar handles
Before you buy, measure the center-to-center distance of IKEA’s existing holes (usually 130mm or 160mm) and order hardware to match.
Hack 6: Chalk paint the PAX wardrobe
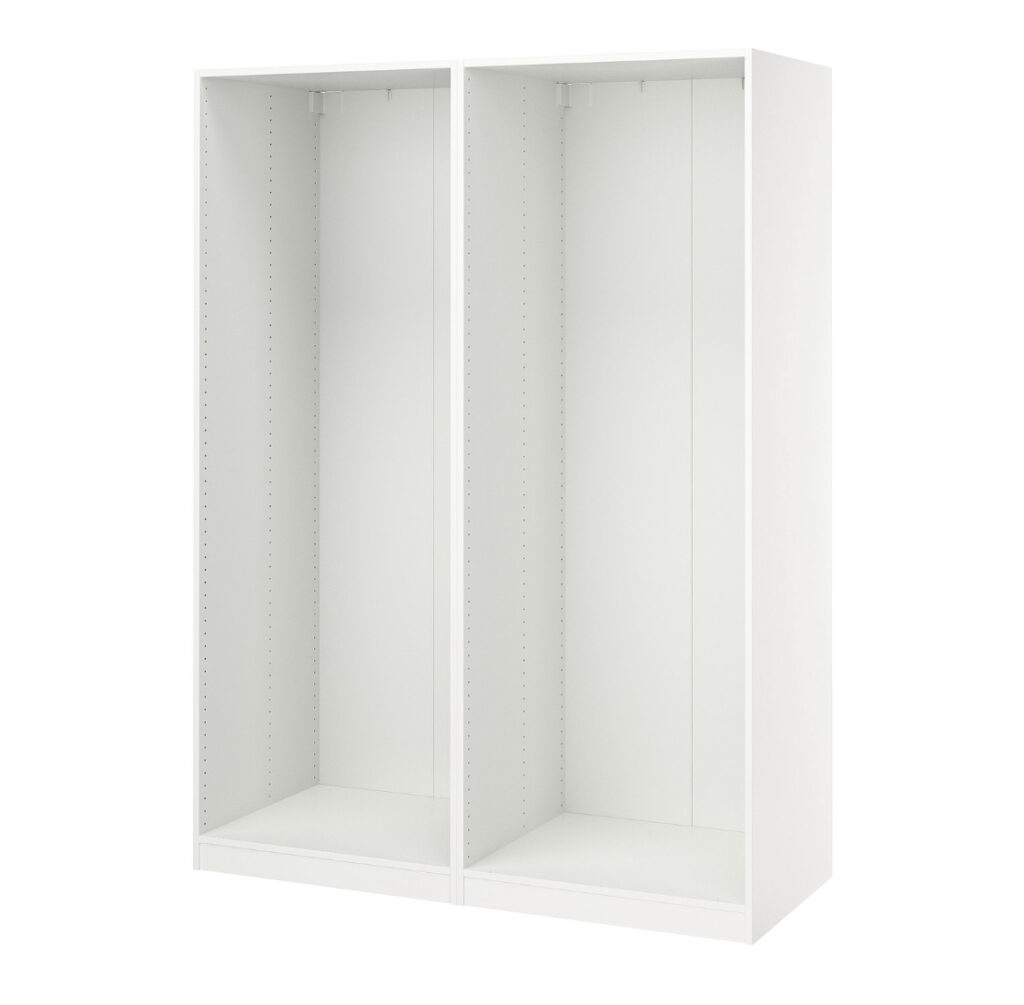
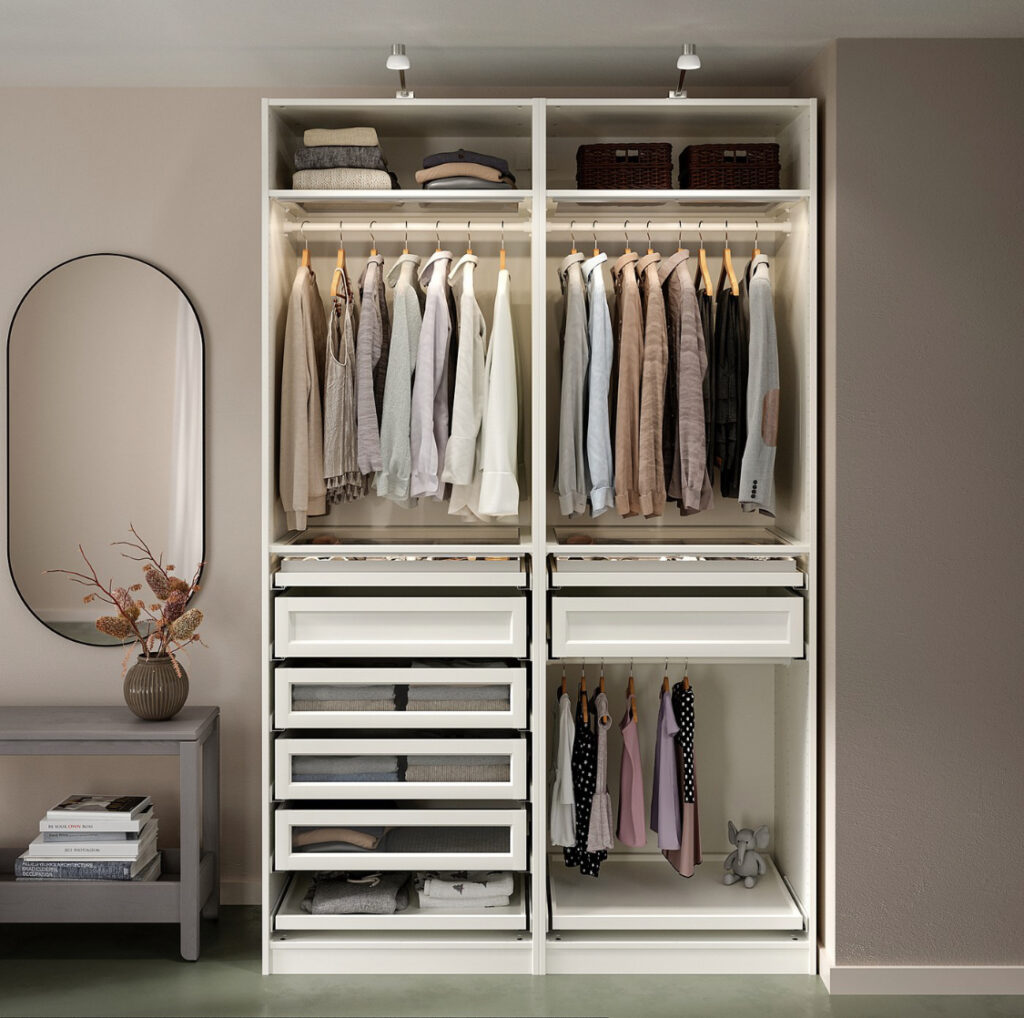
IKEA piece: PAX wardrobe (from $170 above) | Extra cost: ~$25 | Time: 3–4 hours
PAX wardrobes are workhorses — excellent storage, modular, and completely customizable. They are not, in their default white or black-brown form, beautiful.
Chalk paint requires no primer, no sanding, and adheres to laminate surfaces directly — which makes it the perfect medium for painting IKEA furniture. Two coats in a deep color (forest green, navy, dusty rose, terracotta) transforms the wardrobe from functional to a genuine statement piece.
- Wipe down the wardrobe with a damp cloth and let it dry completely.
- Apply the first coat of chalk paint with a wide brush, working in long strokes.
- Let dry for 2 hours, then apply a second coat.
- Once fully dry, apply a clear wax or matte sealant to protect the finish.
- Swap the hardware (see Hack 5) while you have your screwdriver out.
The combination of a deep-colored PAX with new hardware reads as completely custom — the kind of built-in wardrobe that appears in interior design magazines.
Hack 7: BESTA unit wallpaper interior
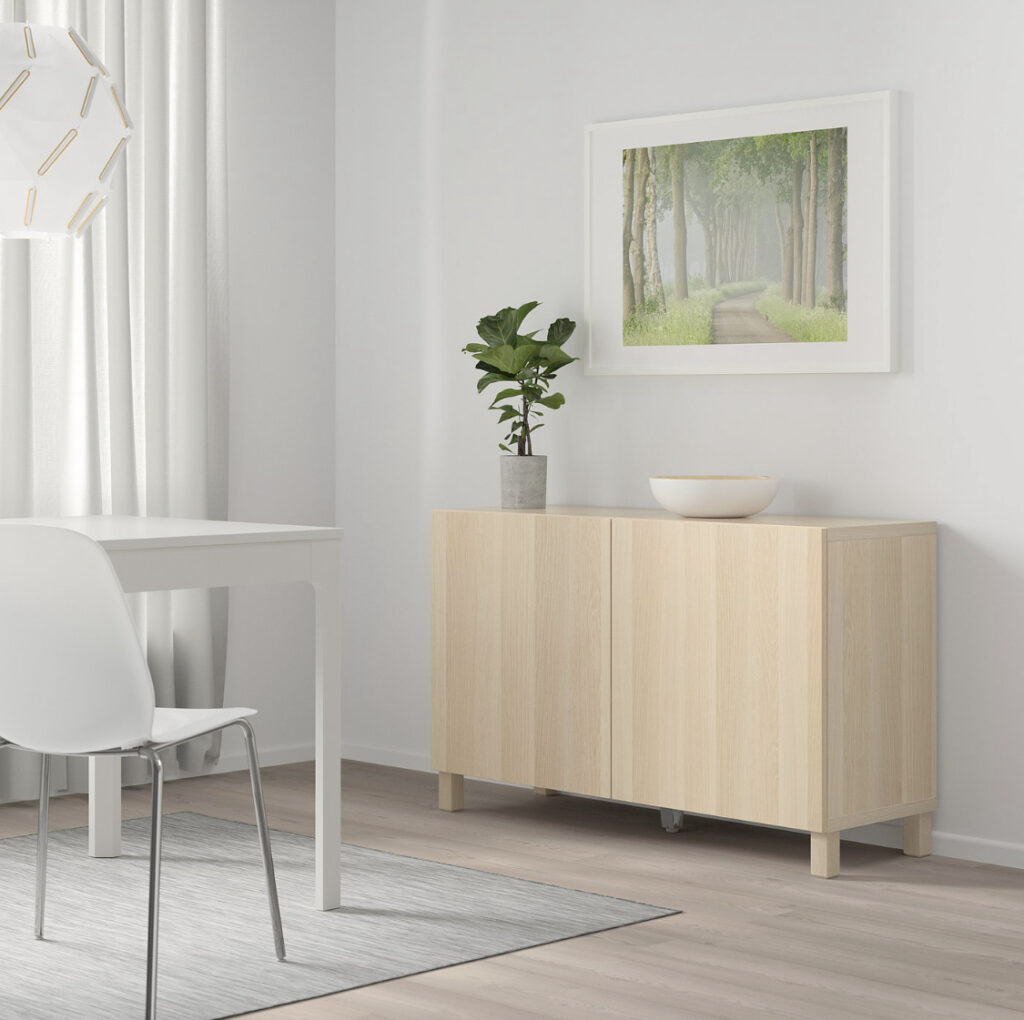
IKEA piece: BESTA storage combination ($240–$785) | Extra cost: ~$20 | Time: 1 hour
The BESTA is IKEA’s premium storage system — sleeker than KALLAX, with soft-close doors and a more furniture-like silhouette. It’s already a solid piece. Adding removable wallpaper to the interior back panel pushes it into something genuinely special.
When the BESTA doors are open, the wallpapered interior creates a visual depth that makes the piece feel far more considered and intentional. Choose a pattern that complements your room’s palette — a soft botanical print, a subtle geometric, or a textured grasscloth-look paper all work beautifully.
- Measure the interior back panel of each BESTA compartment.
- Cut removable wallpaper to size.
- Apply to the back panel, smoothing out air bubbles as you go.
- Style the interior with a mix of books, plants, and objects that complement the wallpaper.
Hack 8: KALLAX desk conversion (free)
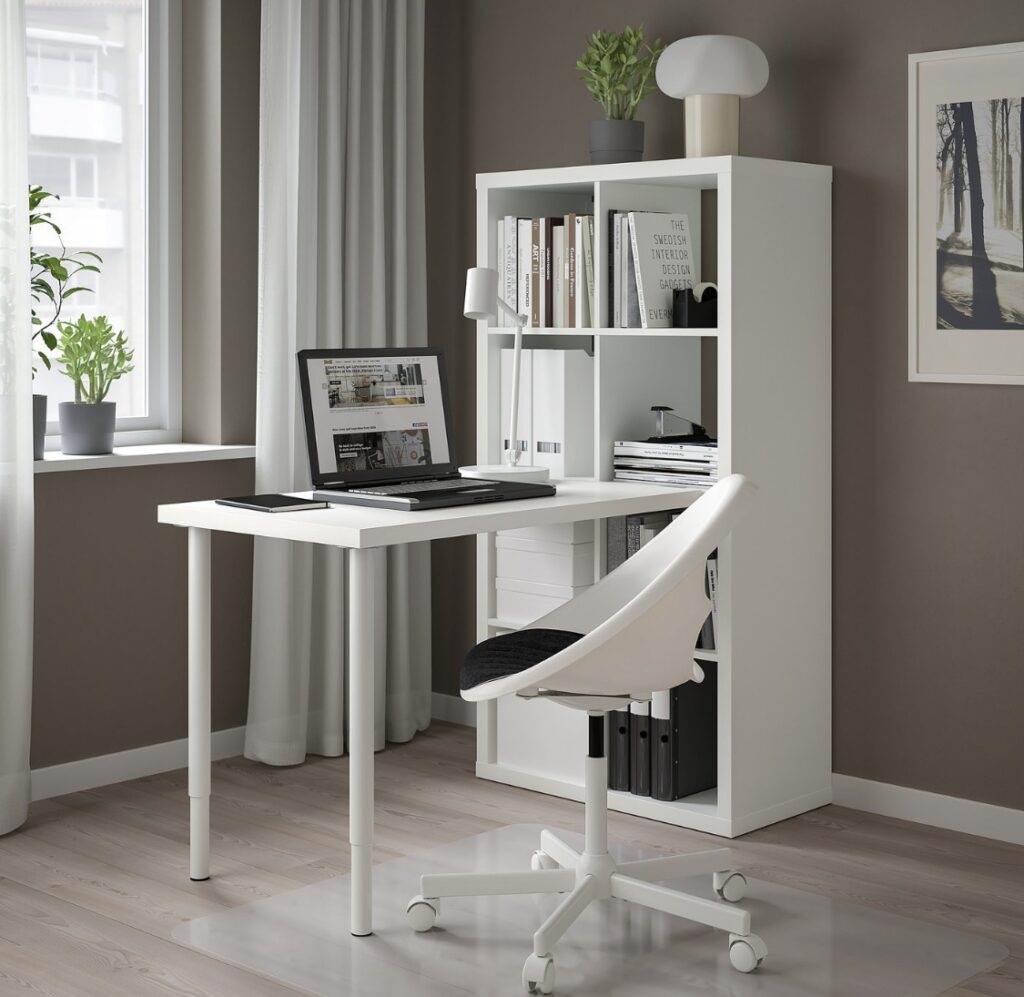
IKEA piece: KALLAX 4-unit shelf + LINNMON tabletop | Extra cost: $0 if you already own a KALLAX | Time: 20 minutes
This one costs nothing if you already have a KALLAX. Two KALLAX 2×2 units positioned as bases on either side of a LINNMON tabletop ($19.99) creates a desk with built-in storage that looks completely intentional — like a piece you’d find in a home office design blog.
The KALLAX cubes on either side can hold files, books, a printer, or decorative baskets. The LINNMON top gives you a clean work surface. The combination works in any room and takes 20 minutes to set up with no tools.
Style tip: add a small plant on one of the KALLAX cubes, a desk lamp, and a single framed print above the desk. This turns a functional workspace into a designed one.
Hack 9: KYRRE stool color upgrade
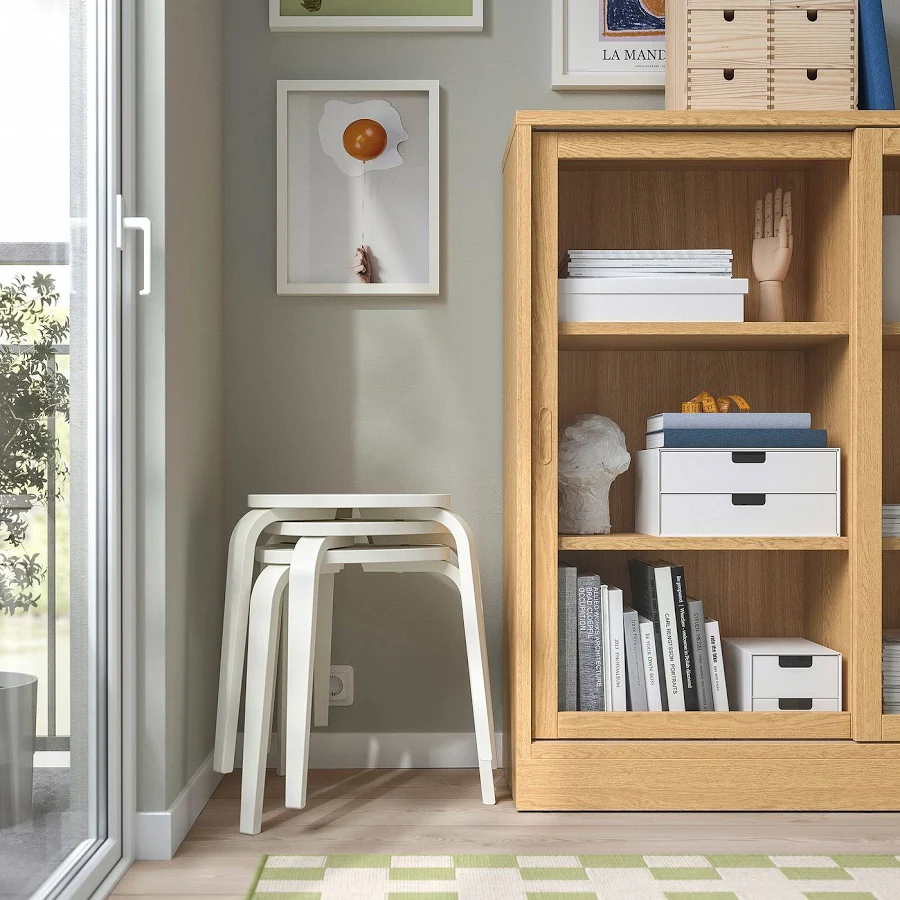
IKEA piece: KYRRE stool ($15) | Extra cost: ~$10 | Time: 45 minutes
The KYRRE stool is a simple pine stool that’s essentially a blank canvas. In its raw pine form it reads as unfinished. Painted in a saturated, interesting color — terracotta, cobalt blue, forest green, dusty mauve — it becomes an accent piece that adds personality to any corner of a room.
- Lightly sand the stool with fine-grit sandpaper to help paint adhere.
- Wipe away dust with a damp cloth. Let dry.
- Apply two coats of chalk paint or outdoor paint in your chosen color.
- Finish with a clear sealant for durability.
Three KYRRE stools in different coordinating colors — grouped in a corner or used as plant stands — costs under $75 total and looks like a styled vignette from an interior designer’s portfolio.
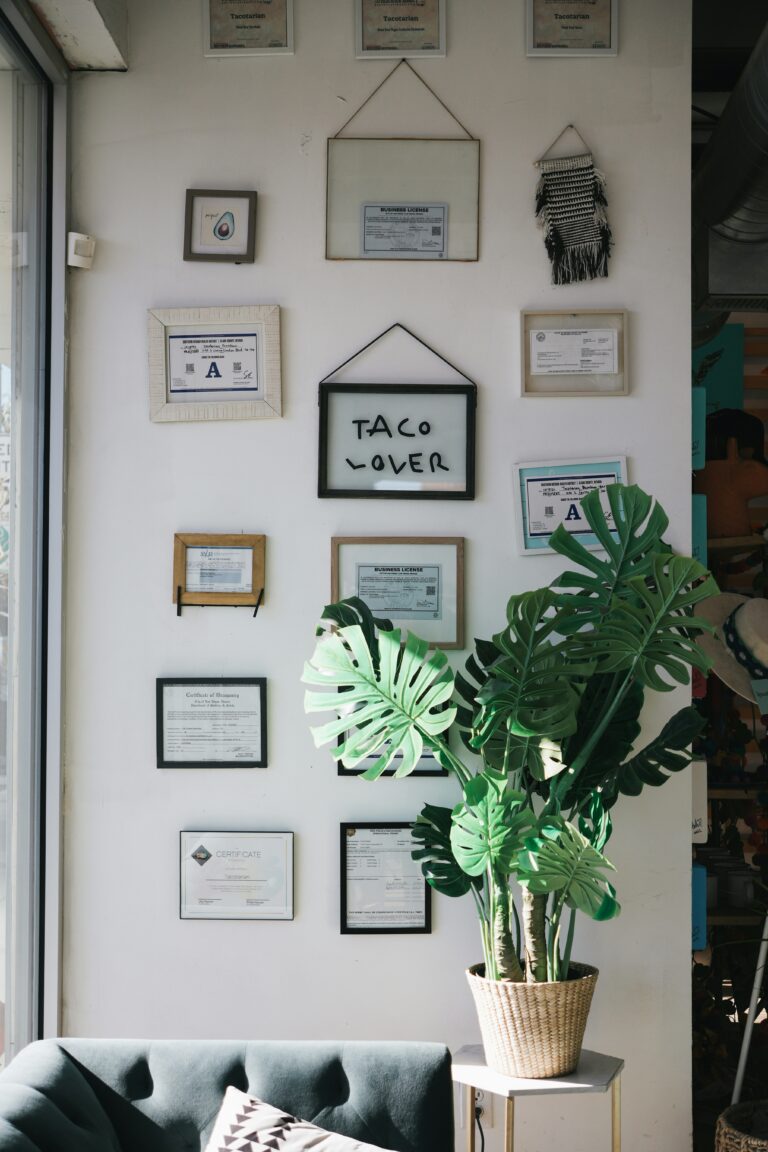
Hack 10: MOSSLANDA / RIBBA picture ledge gallery wall
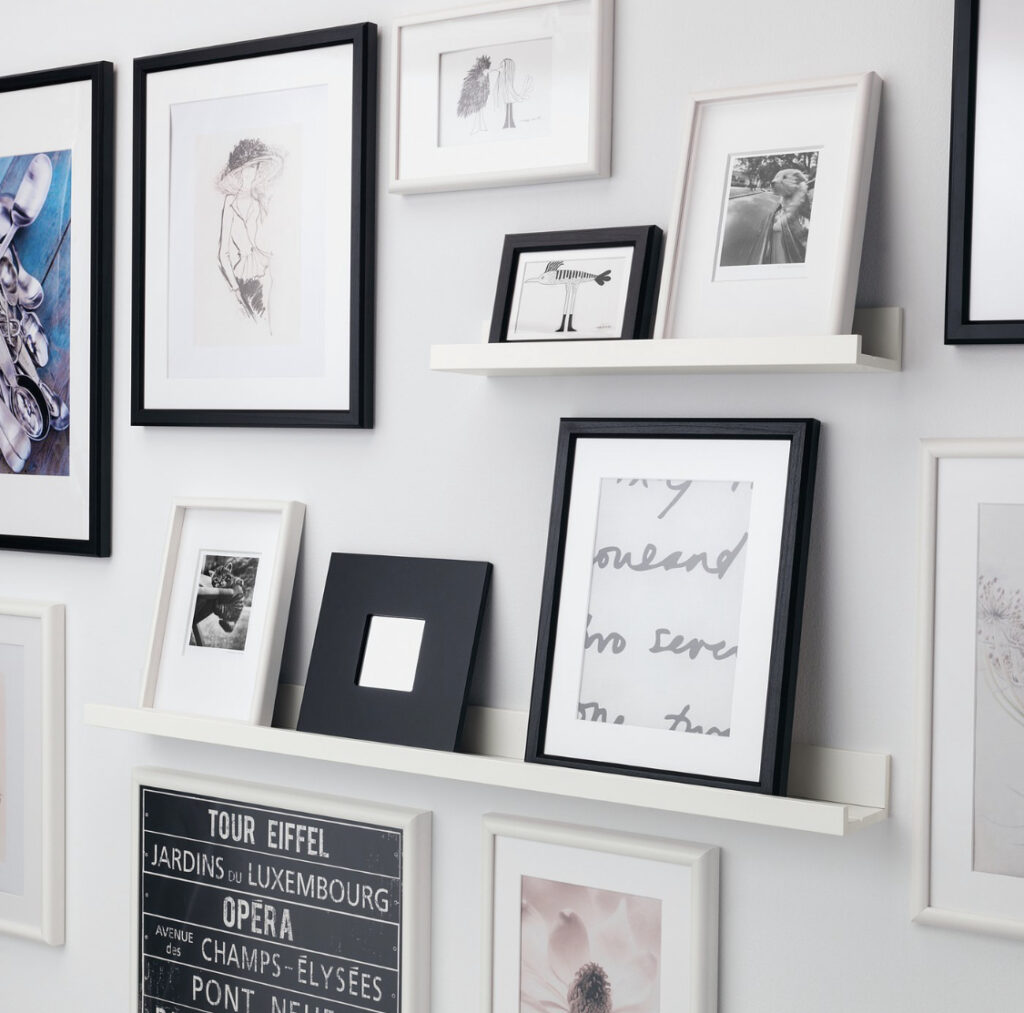
IKEA piece: MOSSLANDA ($19.99) or RÖDALM picture ledges ($14.99) | Extra cost: ~$35 total | Time: 1 hour
A gallery wall is one of the most impactful things you can do to a blank wall — but putting one together with traditional framing and hanging means committing to exact positions, drilling multiple holes, and living with any mistakes.
Picture ledges solve all of that. Mount 3–5 ledges on your wall in a horizontal arrangement (staggered heights look best) and then simply lean prints, frames, and small plants against them. You can restyle the arrangement in 5 minutes without touching the wall again.
- Mark your ledge positions with a pencil — use a level for each one.
- Mount the ledges with the included screws and wall anchors.
- Arrange your frames and prints, mixing sizes, orientations, and finishes.
The beauty of this system is that you only make two small holes per ledge (which patch in seconds with spackle) and you can change the art as often as you like. Print art for free from sites like Unsplash, frame it in a $5 IKEA RÖDALM frame, and you have gallery-quality art for almost nothing.
Shop: MOSSLANDA picture ledge | RÖDALM frames | Command strips for frames
Where to start if you’re new to IKEA hacks

If you’ve never done one of these before, start with Hack 5 — the hardware swap. It requires no painting, no tools beyond a screwdriver, and the before-and-after impact is immediate. You’ll spend $25 and an hour and end up with furniture that looks like it belongs in a home decor magazine.
Once you’ve got that win under your belt, Hack 3 (the LACK marble makeover) is the next easiest — 15 minutes, $8, and the result photographs beautifully for Pinterest.
The bigger projects — painting the PAX, building the BILLY built-in, doing the cane webbing — are weekend projects that are genuinely satisfying and worth every hour. Save those for when you’re ready.
→ Next step: How to Organize Your Kitchen Cabinets (The System That Actually Sticks)