How to Create a Gallery Wall on a Budget (Step by Step)
This post contains affiliate links. If you click a link and make a purchase, I may earn a small commission at no extra cost to you. I only recommend products I genuinely believe in. Thank you for supporting The Tender Home!
A gallery wall is the kind of thing that looks like it requires a designer’s eye, an unlimited art budget, and at least one dramatic argument about whether the frames are level. The reality is much more forgiving — and much cheaper — than most people think.
The gallery walls you admire in other people’s homes are almost never expensive. They’re intentional. The art doesn’t need to be original or valuable. The frames don’t need to match. The arrangement doesn’t need to be symmetrical. What it needs is a coherent logic that you can execute methodically — and that’s exactly what this guide gives you… how to make a gallery wall.
Total cost for the gallery wall in this guide: under $50. Renter-friendly version included. No design experience required.
What’s in this guide
Step 1: Choose your gallery wall style
Before you buy a single frame, decide which style of gallery wall you’re creating — because each one has a different planning approach:
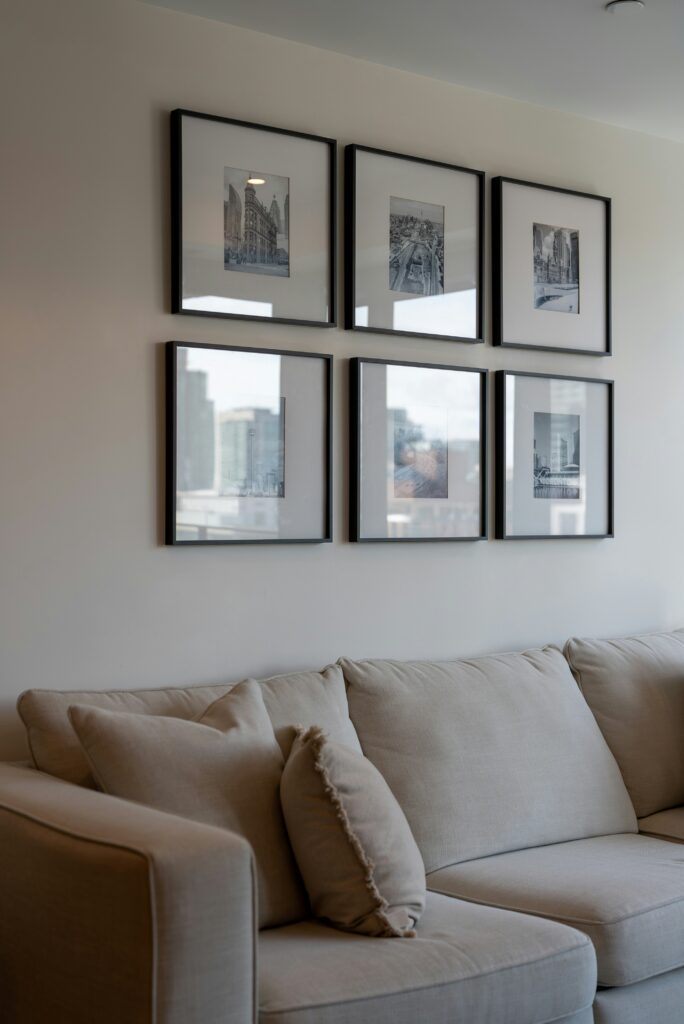
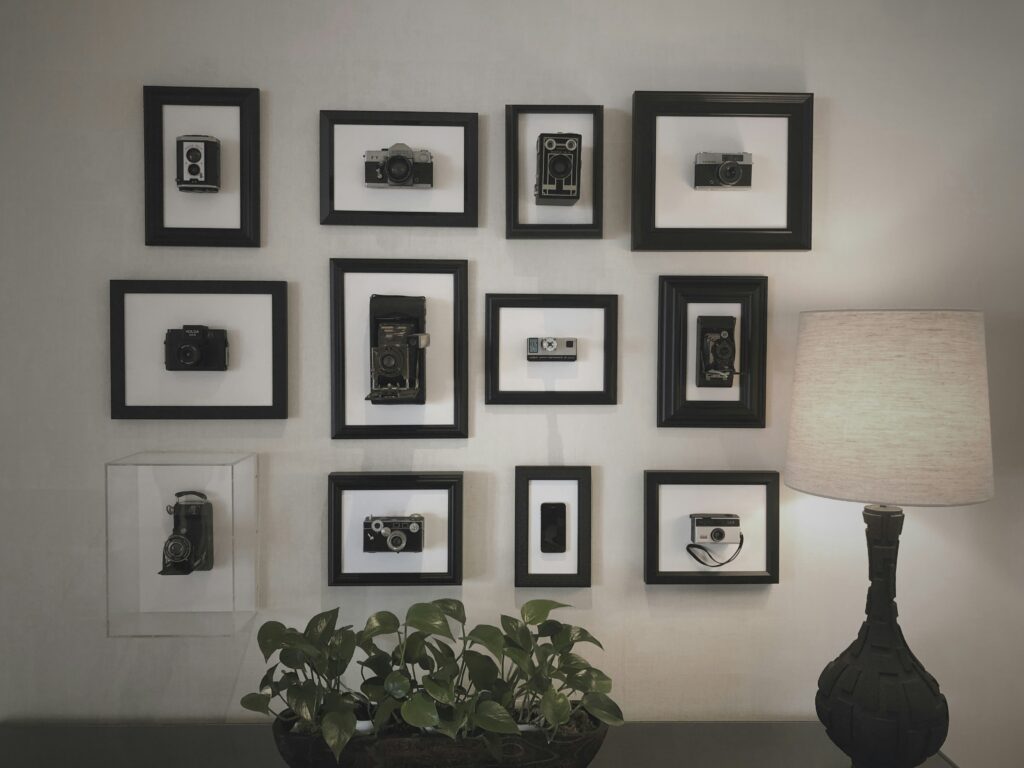
The grid: All same-size frames arranged in a perfect grid. The most graphic and modern option. Requires precision but is the easiest to plan. Works best with matching frames.
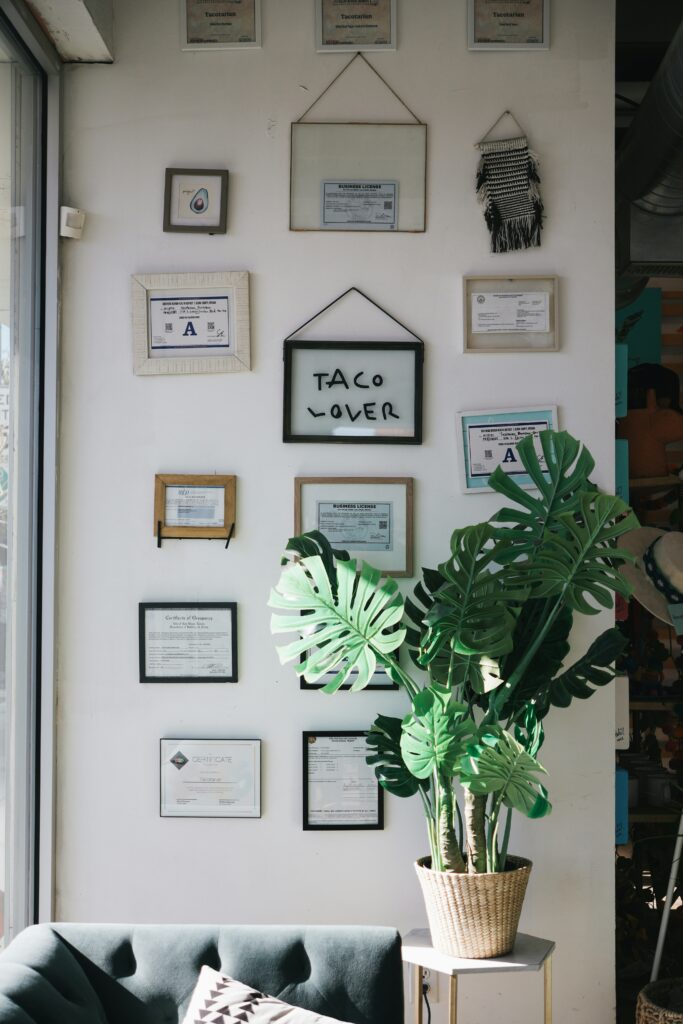
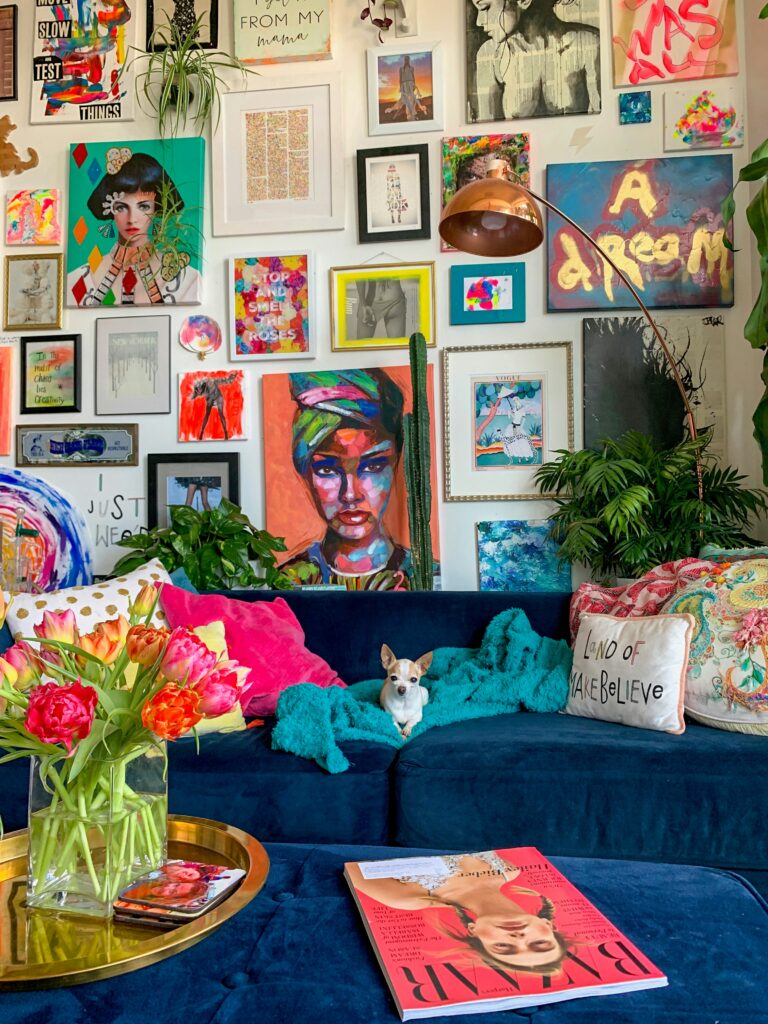
The salon hang: Mixed sizes, mixed frames, asymmetric arrangement that fills the wall organically. The most popular style right now. Looks effortless, requires the most planning.
The ledge display: Picture ledges mounted in horizontal rows with frames and objects leaning against them. The most renter-friendly option — only two small holes per ledge. Easiest to update and restyle.
For a first gallery wall, the ledge display is the lowest-risk option. For the biggest visual impact, the salon hang. The grid is perfect if you love a clean, graphic aesthetic.
Step 2: Find your art (for free or nearly free)
This is where most people assume a gallery wall gets expensive. It doesn’t have to be.
Free art sources
- Unsplash.com: High-resolution photography, completely free to download and print. Search by color, mood, or subject. Botanical prints, architectural photography, and abstract shots all work beautifully.
- Pexels.com: Same as Unsplash. Different library of images worth browsing.
- The Rijksmuseum collection: rijksmuseum.nl/en/rijksstudio — over 700,000 public domain artworks available for free download in high resolution. Old masters, botanical illustrations, maps.
- Rawpixel.com: Large collection of free vintage botanical prints, vintage maps, and public domain art specifically formatted for printing.
Budget art sources
- Etsy printable art: $2–$8 for an instant-download print file you print at home or at a print shop. Enormous variety, designer quality, fraction of the cost of framed art.
- Society6 and Redbubble: Physical prints shipped to you, starting around $10–$15 unframed.
Print your chosen art at home (for smaller sizes) or use a local print shop or Walmart photo center for larger sizes at low cost. An 8×10 print at Walmart photo center costs under $3.
Step 3: Choose your frames
Frames don’t need to match — but they need to have a relationship. The most common approaches:
All black: The most graphic and cohesive option. Works with almost any art style. IKEA’s RÖDALM frames in black are $8–$55 each (varying by sizes) and look far more expensive than they are.
All natural wood: Warm and organic. Works beautifully with botanical prints and photography.
Mixed black and natural wood: The most popular combination right now. Looks intentionally curated rather than perfectly matched.
Mixed with one or two colored frames: Add one sage green, terracotta, or brass frame to a mostly black or natural wood collection for a pop of personality.
Oversized mats make a significant difference — a small print in a large frame with a wide white mat looks instantly more gallery-like. A 5×7 print in an 8×10 frame with a 3-inch mat on all sides looks like something you bought at an art fair.
Step 4: Plan the layout before touching the wall
This is the step that separates a gallery wall that looks designed from one that looks like an accident. Never put the first nail in without planning the full arrangement first.
The paper template method (most accurate)
- Trace each frame on kraft paper or newspaper and cut out the shapes.
- Write the frame size on each cutout.
- Tape the paper cutouts to the wall with painter’s tape, arranging them until you’re happy with the layout.
- Mark where the hanging hardware sits on the back of each frame by pressing through the paper.
- Remove the paper and hang the frames on the marked points.
The floor layout method (easier but less precise)
- Lay all your frames on the floor in front of the wall.
- Arrange them until you find a layout you love.
- Photograph it on your phone.
- Start with the center frame and work outward, using the photo as reference.
For a salon hang, start with the largest piece and build around it. For a grid, start from the top-left corner and work across then down.
Step 5: Hang it (the tools that make it easier)

A level: Non-negotiable. Even a small phone level app works.
Command strips: For renters or lighter frames. Follow the instructions exactly — surfaces must be clean and dry first.
Standard picture hooks: For heavier frames. One small nail hole per frame, nearly invisible when you move out.
The spacing rule: 2–3 inches between frames feels tight and intentional (museum style). 4–6 inches between frames feels more relaxed and airy. Choose based on your wall size and the density of art you prefer.
The renter-friendly version: picture ledges only
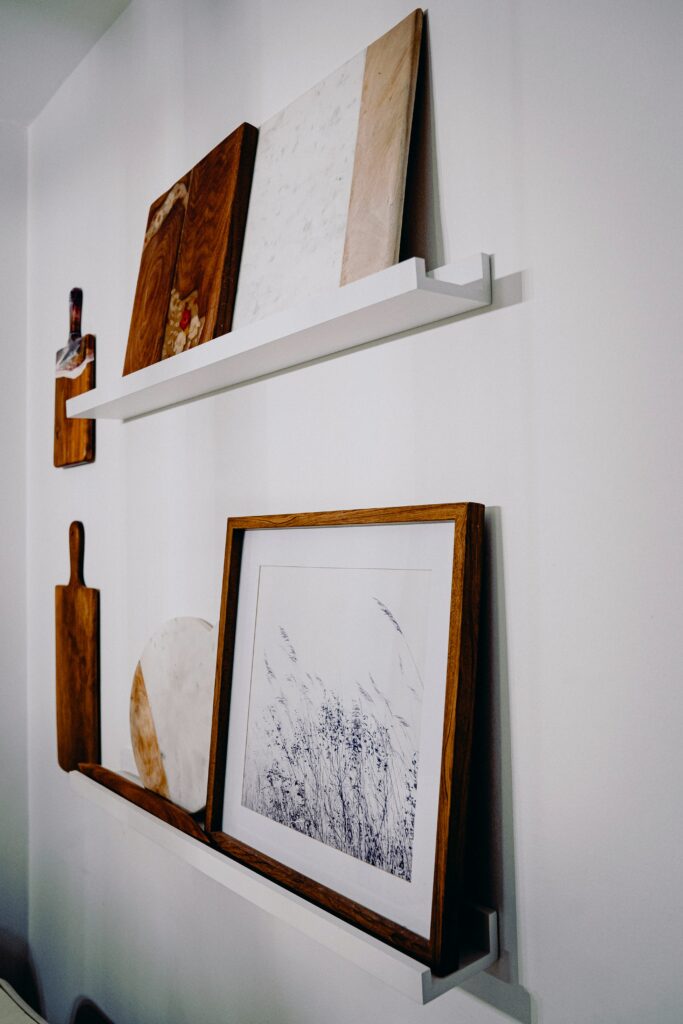
If you want zero nail holes: mount 3–5 IKEA MOSSLANDA or KNOPPÄNG picture ledges in staggered horizontal rows. Each ledge needs only two small screws. Lean frames and art prints against the ledge without hanging anything.
The advantages beyond deposit protection: you can restyle the art in minutes, add new pieces without touching the wall, and the arrangement can include non-frame elements — small plants, sculptural objects, cards — that a traditional gallery wall can’t.
→ Next: New Homeowner Checklist: Everything You Need to Do First