Pantry Organization Ideas That Will Change How You Cook
There is a direct line between a chaotic pantry and not wanting to cook. When you open the pantry to start dinner and immediately have to excavate through three layers of random cans to find what you need, when you buy something at the grocery store only to come home and find you already had two of them buried at the back, when expired items silently take up space for months without you noticing — cooking becomes an obstacle rather than something you do easily.
An organized pantry changes this completely. Not just visually — functionally. You can see what you have, you reach for things without searching, and the act of starting a meal stops being something you have to mentally prepare for.
This guide covers every type of pantry, from a full walk-in to a single kitchen cabinet, with a real system and specific products that actually hold the pantry organization in place.
What’s in this guide
Step 1: The full empty-out (non-negotiable)
You cannot organize a pantry by moving things around inside it. Everything comes out — all of it, onto the kitchen counter or table — before you put a single thing back. This is the step people resist and the reason most pantry reorganizations fail within a month.
With everything out, you do three things:
- Check every expiry date. Anything expired goes immediately — no hesitation, no ‘it’s probably still fine.’
- Group like items together: all grains together, all canned goods together, all baking supplies together, all snacks together. You’ll immediately see duplicates, gaps, and items you forgot you owned.
- Wipe down every shelf before you put anything back. You won’t want to do this once the pantry is restocked.
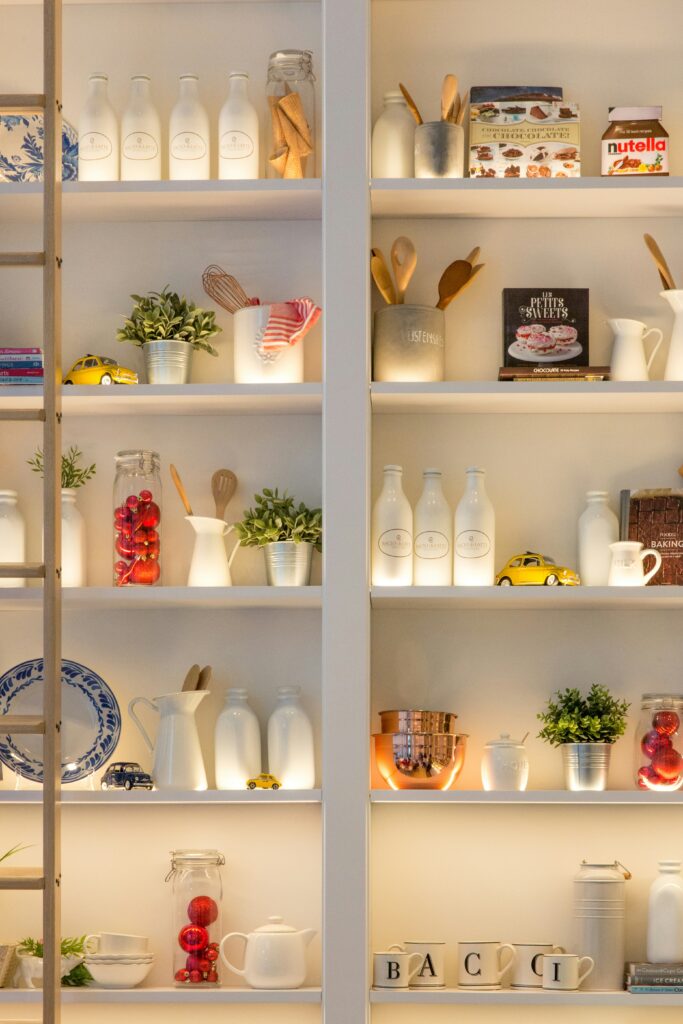
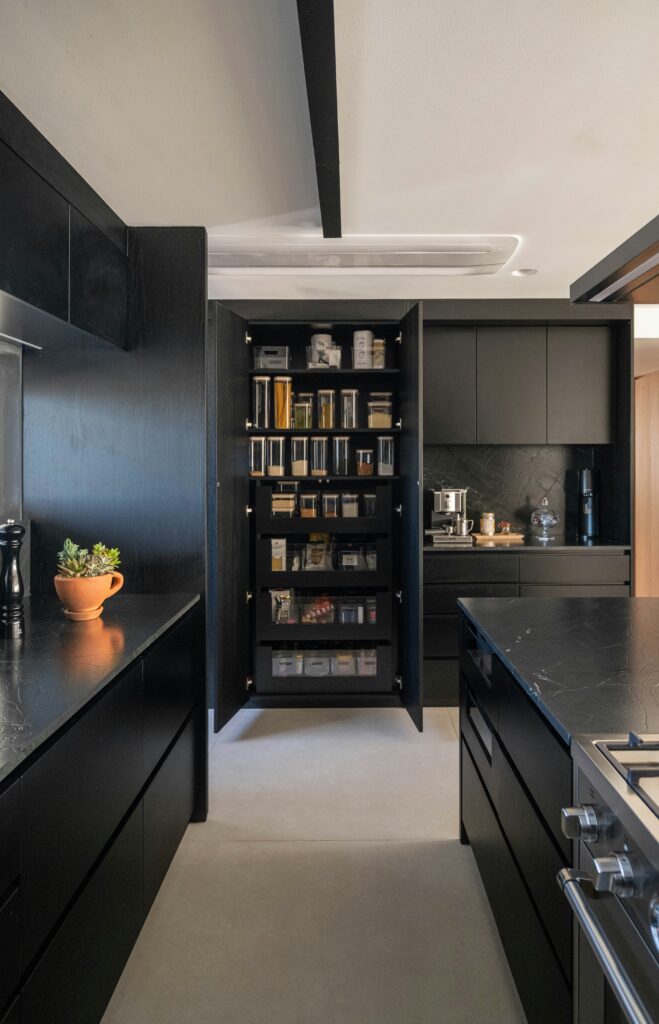
Step 2: The decant system (the one that looks like those Pinterest pantries)
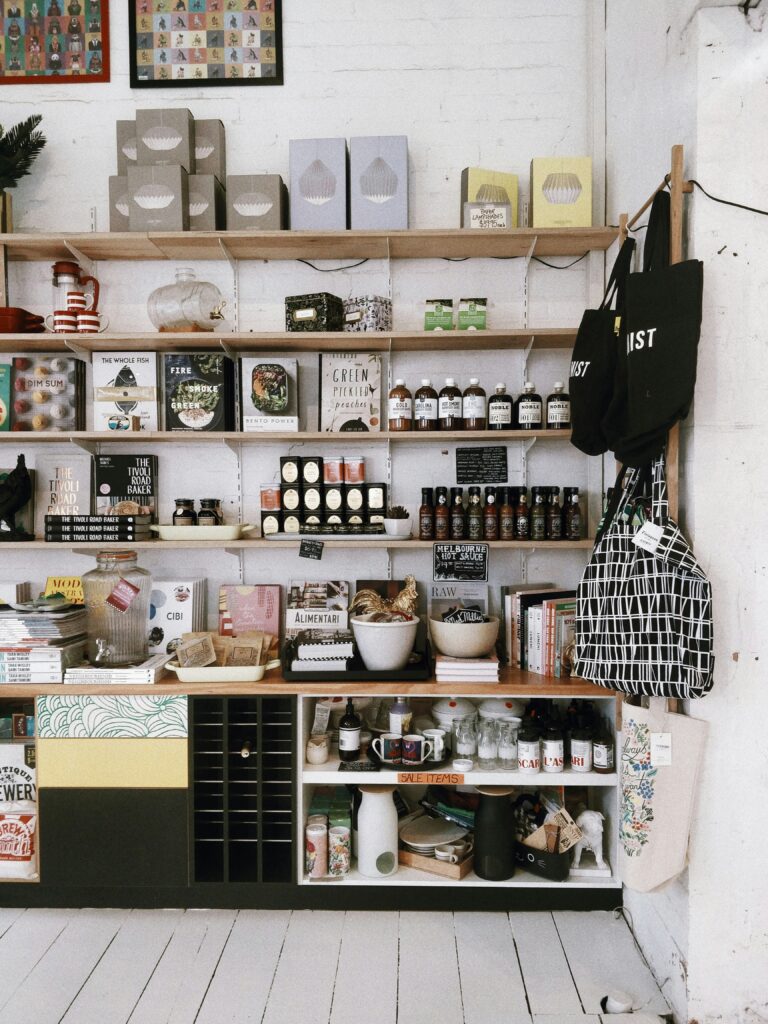
The most visually transformative pantry upgrade — and the most functional one — is decanting dry goods from their original packaging into matching airtight containers.
Flour, sugar, rice, pasta, oats, lentils, coffee, tea — all of these look chaotic in their original bags and boxes (different sizes, different colors, different heights). In matching clear containers, they create visual order, keep food fresher longer, and let you see at a glance what you’re running low on.
You don’t have to decant everything at once. Start with your most-used dry goods and expand from there. Label each container with a label maker or handwritten chalkboard labels for a cohesive look.
What to decant (and what to leave in original packaging)
- Decant: flour, sugar, rice, pasta, oats, nuts, seeds, dried beans, coffee, tea bags, breakfast cereals
- Leave in original packaging: canned goods, condiments, spices (unless using a matching spice jar set), items with complex cooking instructions on the package you actually refer to.
Step 3: Zone your pantry by use
The same zone-by-use principle that applies to kitchen cabinets applies to the pantry. Group items by how and when you use them, and place the zones at the right height:
- Eye level: Daily-use items — the foods you reach for every day. Breakfast items, snacks, the grains you cook most often.
- Below eye level (easy reach): Canned goods, cooking staples, oils and vinegars. The things you use regularly but not necessarily every day.
- High shelves: Rarely used appliances, bulk overflow, seasonal items. If you use it less than once a month, it can live up high.
- Bottom shelf: Heavier items — large bags of flour, case packs, root vegetables, pet food.
The tools that make pantry organization actually stick

Clear bins and baskets
Individual items on a shelf are hard to access and easy to knock over. Grouping them in clear bins with labels means you grab the whole category — snacks bin, baking bin, canned goods bin — and immediately see everything inside. Uniform bins across all shelves create visual cohesion even with completely different items inside.
Lazy Susan turntables
A turntable on a pantry shelf eliminates the dead zone at the back. Oils, vinegars, condiments, sauces, and spice jars all become fully accessible with a spin. Use one per shelf section for condiments and another for spices if you store them in the pantry.
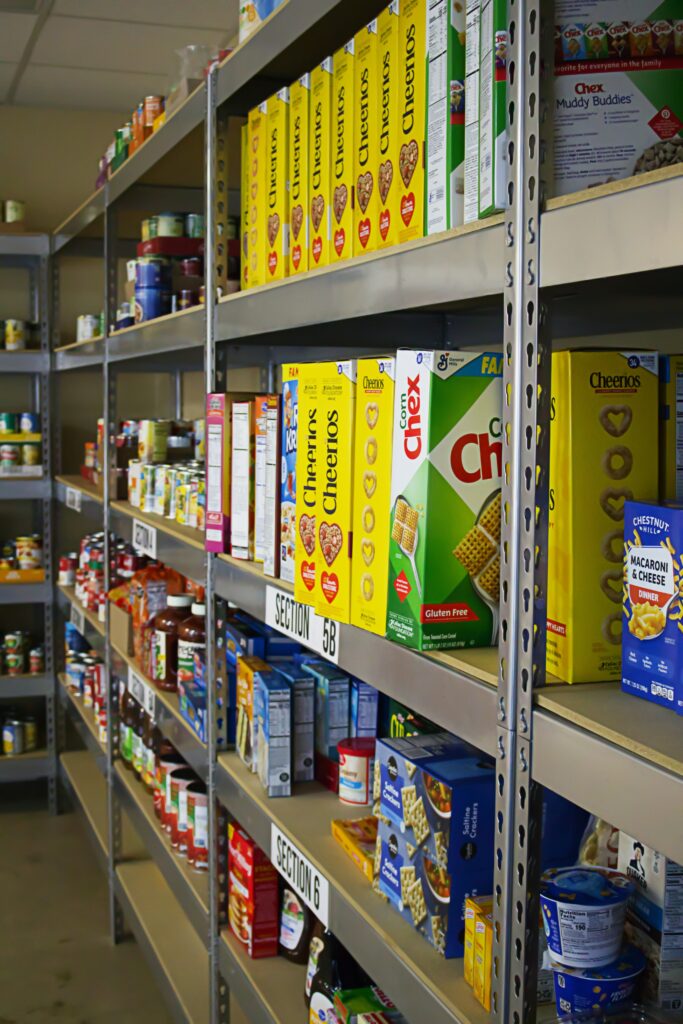
Shelf risers
Like cabinet shelf risers in the kitchen, pantry shelf risers create a second tier within a single shelf space — doubling your can or jar storage without adding a new shelf. Perfect for canned goods where you want to see every can at once.
Stackable can organizers
Cans roll, hide, and expire silently at the back of shelves. A stackable can organizer holds cans upright in a FIFO (first-in, first-out) system — new cans go in the top, the oldest can rolls to the front. No more mystery cans from three years ago.
Over-door organizers
The inside of the pantry door is prime real estate most people never use. An over-door organizer adds a full panel of pocket storage for snacks, spices, small packets, and pantry overflow without taking up any shelf space.
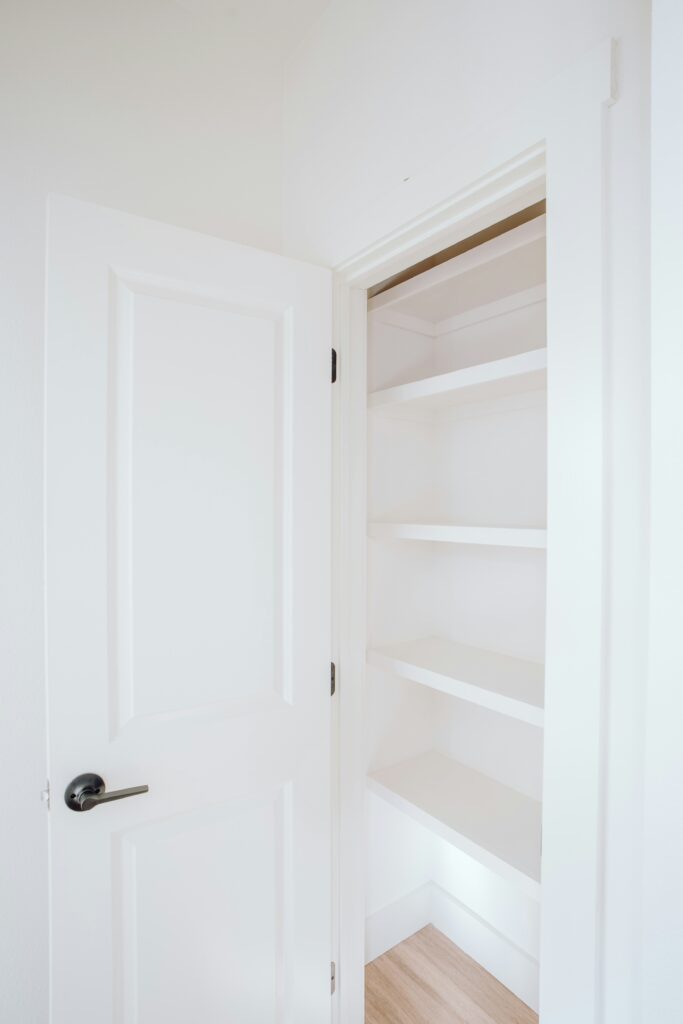
For small pantries and single-cabinet pantries
If you don’t have a dedicated pantry — just a cabinet or two designated for food storage — the same principles apply at smaller scale:
- Everything out, expired items gone, like-items grouped
- Use the full vertical space with shelf risers.
- A small lazy Susan turntable in the corner section.
- One clear bin per category — snacks, baking, grains — so categories stay contained within a shared space.
- A small over-door organizer on the cabinet door for the items you reach for most.
A single well-organized food cabinet is genuinely more functional than a larger disorganized pantry. The size of the space matters less than the system inside it.
The maintenance habit: the 5-minute Sunday reset
Pantries drift back toward chaos not because the system fails but because items get put away in the wrong bin, containers run out without being noted, and the weekly grocery shop adds new items without any thought for where they go.
The fix: five minutes every Sunday before or after the grocery shop. Pull anything from the wrong zone, refill containers that are running low, note what you’ve run out of, and do a quick expiry check on anything that’s been sitting for a while. Five minutes. Not a reorganization — a reset.
→ Next: The New Homeowner Checklist: Everything You Need to Do First