How to Declutter Your Entire Home in One Weekend (Room by Room)
This post contains affiliate links. If you click a link and make a purchase, I may earn a small commission at no extra cost to you. I only recommend products I genuinely believe in. Thank you for supporting The Tender Home!
You’ve been meaning to do this for months. Maybe longer. You walk past that closet and think “I’ll deal with it this weekend” — and then the weekend comes and you open the door, feel immediately overwhelmed, and quietly close it again.
I know that move. I’ve made that move.
Here’s what actually works: you don’t declutter a whole house. You declutter one drawer. Then one shelf. Then one corner. And if you string enough of those small wins together over two days, you end up at Monday morning standing in a home that finally feels like it has breathing room.
This guide is your exact plan on how to declutter your home. Room by room, decision by decision, with no vague advice like “only keep things that spark joy” — just a clear, practical system that gets the job done by Sunday night.
Free download: Grab the Ultimate Home Declutter Checklist PDF at the bottom of this post — print it out and check off each room as you go.
What’s in this guide
Before you start: the one mindset shift that changes everything
Most people approach decluttering like it’s a sorting project. They pick up an item, think hard about whether they want it, feel guilty, put it back “for now,” and make zero progress.
The system that actually works treats it like a decision-making sprint, not a emotional negotiation. You’re not deciding what to keep forever. You’re deciding what deserves space in your home right now.
Ask this question about every single item: “If I was moving tomorrow, would I pack this?”
Not “do I love it” or “might I need it someday.” Just: would I physically put this in a box and carry it to a new home. If the answer is anything other than an immediate yes, it goes.
The goal this weekend isn’t a perfect home. It’s a noticeably lighter one. Lower the bar and you’ll actually finish.
What you’ll need before you start
Gather these before Saturday morning so you’re not stopping mid-session to find a trash bag:
- Heavy-duty black trash bags — for actual trash. Don’t use flimsy bags; things fall through and you lose momentum.
- Clear donation bags or boxes — for anything going to a charity or friend. Keeping these visually separate from trash matters.
- A ‘maybe’ box — one single box for items you genuinely can’t decide on. Seal it, write today’s date on it, put it in storage. If you haven’t opened it in 60 days, donate it without looking inside.
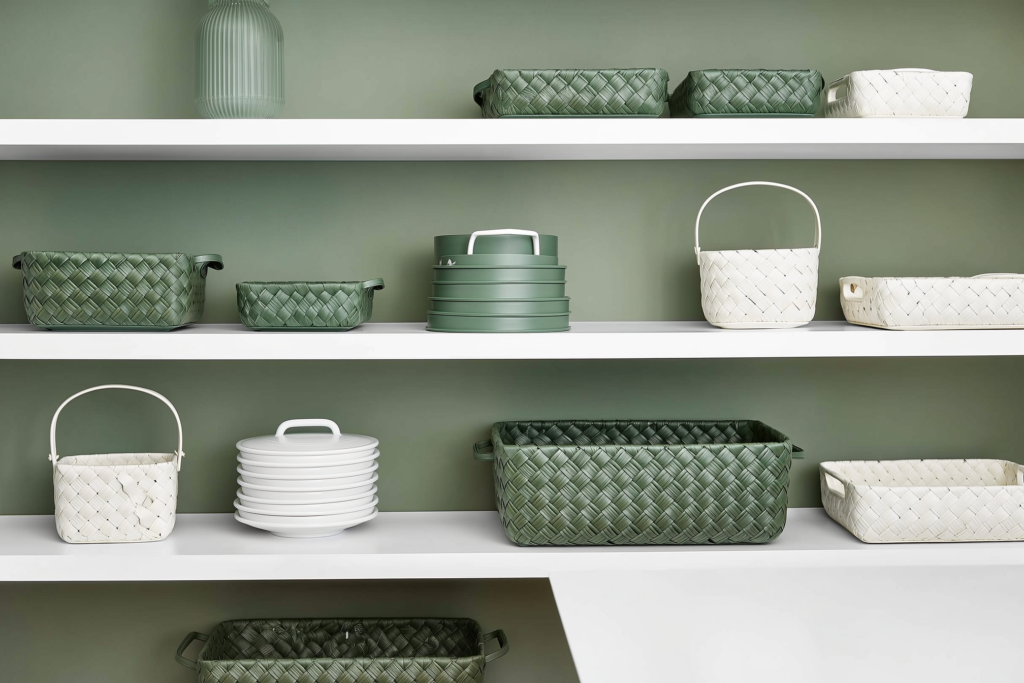
- A label maker or masking tape and a marker — for reorganizing what stays.
- Storage bins (optional) — don’t buy these until after you’ve decluttered. You’ll have a much clearer sense of what you actually need.
That’s genuinely all you need. Resist the urge to spend Saturday morning buying organizational products — that’s procrastination in a prettier form.
Saturday: Kitchen, living room, and bathroom
Start with the highest-traffic areas of your home. These are the spaces you see every day, which means clearing them gives you an immediate psychological payoff that carries you through the less exciting spaces on Sunday.
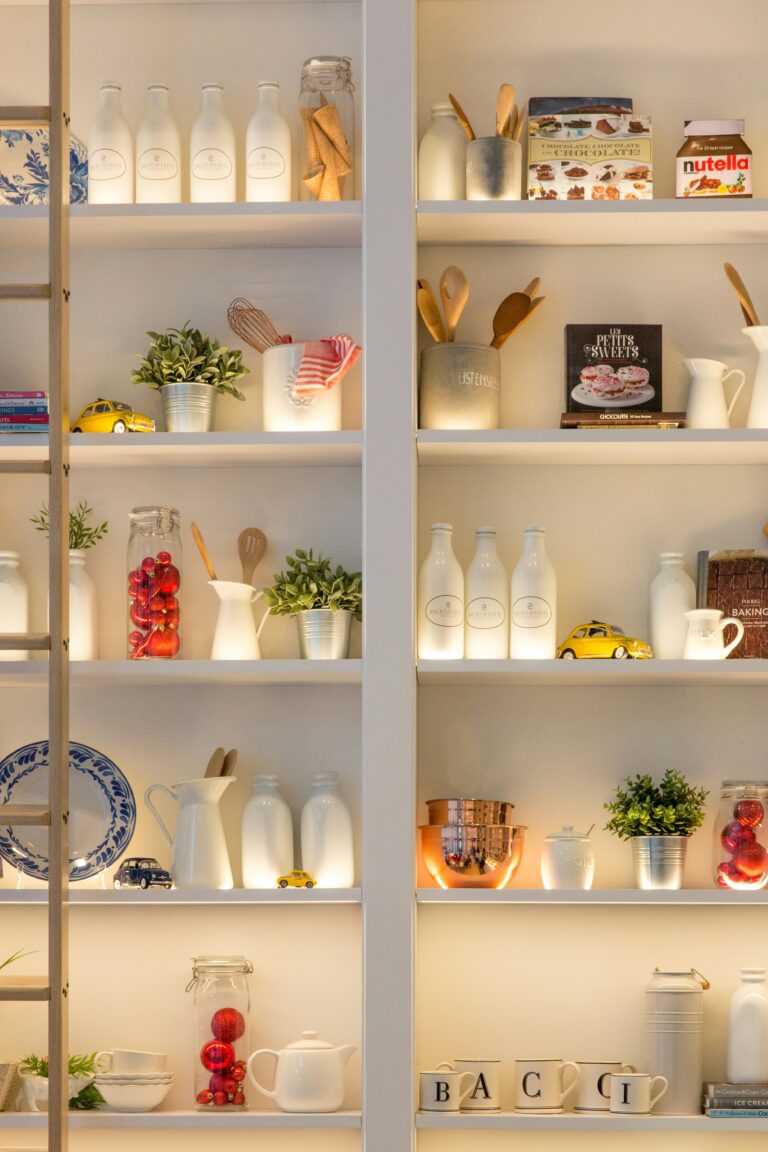
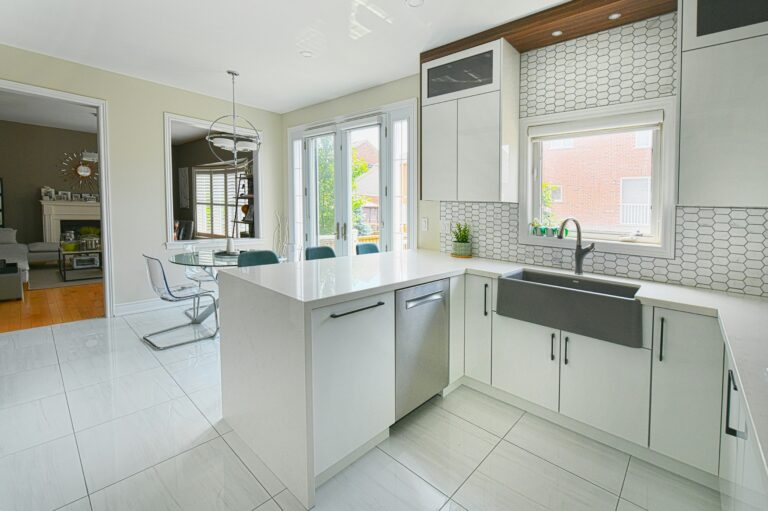
The kitchen (start here — it sets the tone)

The kitchen is the heart of most homes and also the room where random objects go to die. Twist ties from 2019. A garlic press you’ve used twice. Seventeen plastic bags stuffed inside one plastic bag.
Work through these zones in order:
- Countertops first — everything comes off. Everything. Only put back what you use at least three times a week. The rest gets stored or donated.
- The junk drawer — yes, the junk drawer. Give yourself 15 minutes and a ruthless hand. Dried-up pens, mystery keys, and expired coupons all go.
- Cabinets and pantry — group like items together as you go. Duplicates, expired food, and gadgets you forgot you owned all get pulled.
- Under the sink — cleaning products, bags, random spray bottles. Toss anything expired or empty. Keep only what you actively use.
Spend no more than 90 minutes on the kitchen. Set a timer if you need to. Done is better than perfect.
The living room (faster than you think)

Living rooms accumulate two types of clutter: surfaces clutter (things that landed on the coffee table and never left) and storage clutter (things stuffed into cabinets and bookshelves that haven’t been touched in a year).
- Clear every surface completely. Wipe them down. Only put back items that are intentional — a plant, a candle, a book you’re actively reading.
- Go through any media storage — DVDs, games, books. Be honest about what you’ll actually revisit.
- Check under the sofa. (You know what you’ll find. Deal with it.)
- Throw pillows and blankets — keep what you use, donate the rest. Seven throw pillows is too many throw pillows.
The bathroom (the quickest win of the weekend)
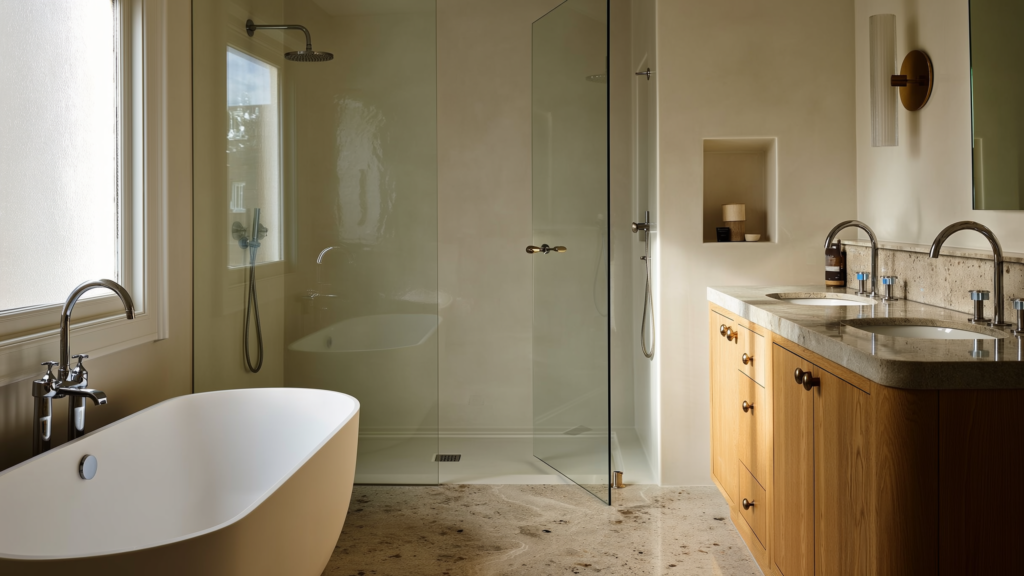
Bathrooms are small but they hide a shocking amount of expired, unused, and forgotten product. This room should take 30–45 minutes maximum.
- Pull everything out from under the sink, the medicine cabinet, and any shelves.
- Check expiry dates on medications, SPF products, and skincare. If it’s expired, it goes — no negotiating.
- Duplicates: keep one, store the backup, donate the rest.
- Products you bought, tried once, and abandoned — donate them. Someone else will actually use that exfoliating scrub.
End Saturday by taking your donation bags to your car. Not to the doorstep — to the car. The physical act of removing things from the house tonight means you won’t second-guess yourself tomorrow morning.
Sunday: Bedroom, closet, and storage spaces
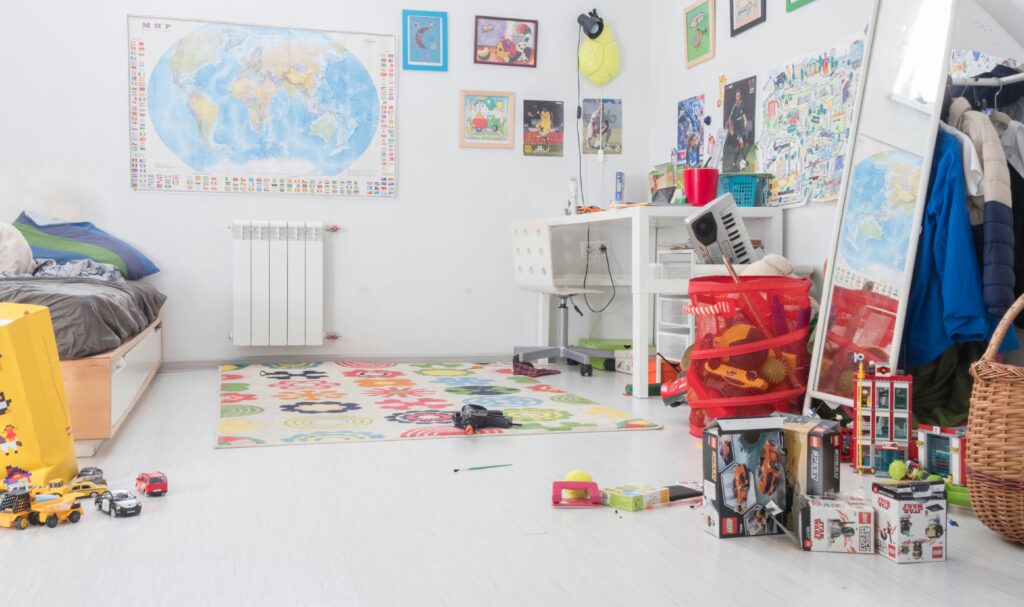
Sunday is harder because it’s more personal. Your bedroom and closet hold things you’re attached to — clothes from a version of yourself you’re not sure you’ve let go of yet, items from relationships, gifts you feel obligated to keep. Go into Sunday knowing it will be slower, and give yourself grace with it.
The bedroom

- Nightstands — clear them completely. Books you haven’t touched in months, charging cables for devices you no longer own, random receipts. All of it goes.
- Under the bed — if you’re using this space for storage, great. But pull everything out and assess it fresh. Under-bed storage only works for items you actually need.
- Surfaces and dressers — same rule as the living room. Only intentional items stay on top.
- Anywhere clothes have piled up — the chair. You know the chair. Deal with the chair.
The closet (the main event)
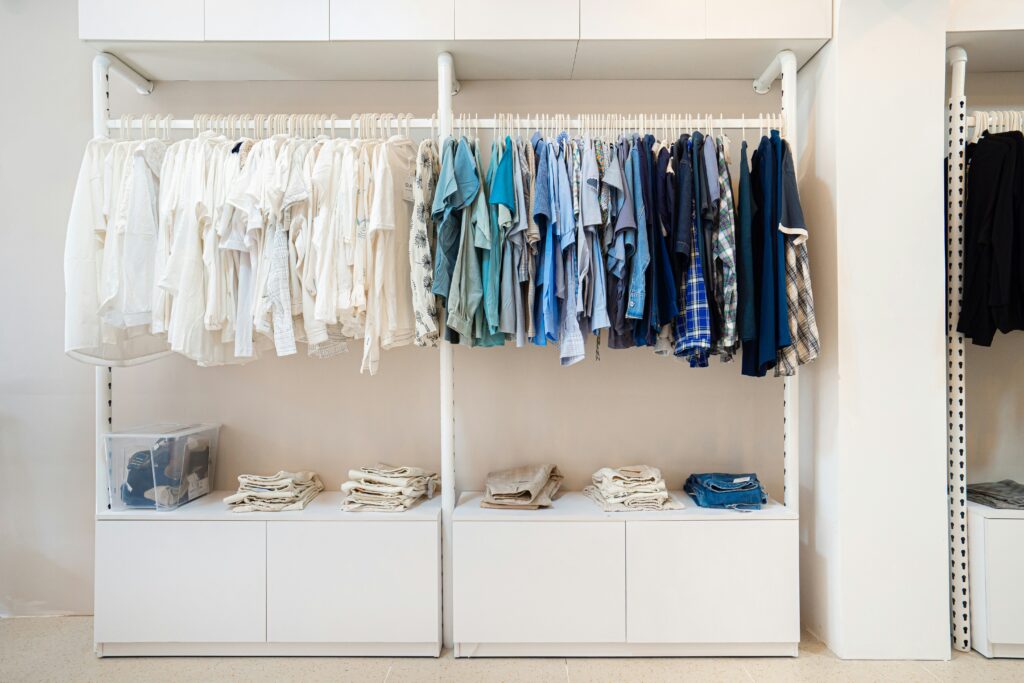
Give the closet its own hour. This is where most people stall, so I’m giving you a system that removes the emotional weight from the decision:
Take everything out. Everything. Lay it all on the bed. Then go through it in categories, not by hanging it back one by one.
- Clothes with tags still on — if you haven’t worn it yet, you won’t. Donate.
- Clothes that don’t fit — not “will fit when” or “used to fit.” Do they fit right now. If no, donate.
- Clothes you haven’t worn in 12 months — if it wasn’t worth wearing in an entire year of seasons, it’s not worth the space.
- Clothes you’re keeping out of guilt — gifts, expensive mistakes, sentimental pieces that aren’t actually worn. These are the hardest. Give yourself permission to let them go.
- Shoes, bags, and accessories — same rules apply.
What’s left is your actual wardrobe. Hang it back neatly, grouped by type or color, whatever feels most intuitive to you.
Storage areas, garage, or spare room
If you have a dedicated storage space, treat it like the bonus level. You don’t have to finish it this weekend — but walk through it and pull out anything that obviously belongs in the trash or donation pile. Even 30 minutes here makes a difference.
The one rule that keeps it from getting bad again

The one-touch rule: every item that comes into your home gets put away immediately, in its actual home, the first time you touch it.
Not on the counter. Not “just for now.” Not on the chair.
This sounds small. It’s not. Clutter doesn’t build from one big event — it builds from a thousand tiny moments of “I’ll deal with this later.” The one-touch rule closes that loop before it starts.
The second habit that protects your work: the 5-minute reset. Every evening, spend five minutes walking through your home and returning anything that’s drifted out of place. Five minutes. Not a deep clean, not a reorganization — just a reset. Do this consistently for two weeks and it becomes automatic.
What to do with everything you’re getting rid of
Donate: Goodwill, Salvation Army, and local Facebook Buy Nothing groups are all good options. Most donation centers will take clothes, kitchenware, books, and home goods.
Sell: Facebook Marketplace and ThredUp (for clothes) are the lowest-effort selling platforms. eBay is worth it for higher-value items. If something has been listed for two weeks with no interest, donate it — your time is worth more than the $8.
Recycle: Electronics, batteries, and some textiles have specific recycling programs. Best Buy takes old electronics. Many municipalities have textile drop-off points for clothes that aren’t donation-quality.
Trash: Anything expired, broken beyond repair, or too worn to donate. Don’t feel guilty about this — keeping broken things “just in case” is how clutter starts over.
You did it. Now protect it.

By Sunday evening, your home should feel noticeably different. Not magazine-perfect — real and livable and lighter. That feeling is what you’re protecting going forward.
The declutter is the hard part. The maintenance is just habit. And habits, once they’re running, cost almost nothing to keep.
Download the free checklist to keep as your reference — and if you want to take the next step, I’ve got a full guide to organizing your kitchen cabinets that builds perfectly on what you’ve already done this weekend.
→ Next step: How to Organize Your Kitchen Cabinets (The Method That Actually Sticks)